frp教程
发表于|更新于
|阅读量:
一、基础篇
1.前言
1.1 frp内网穿透能干什么
- 对外提供web服务
- 外面远程连接家庭电脑、NAS等
- 用闲置电脑搭建服务器给给其他人用,如:我的世界服务器、幻兽帕鲁服务器
1.2 云服务器
2.官网
https://gofrp.org
3.服务端
3.1安装
3.1.1 普通安装方式
地址:https://github.com/fatedier/frp/releases
1.先到/usr/local/ 目录
2.创建frp文件夹,进入
3.上传安装包到/usr/local/frp目录
4.解压并进入
1
| tar -zxvf frp_0.60.0_linux_amd64.tar.gz && cd frp_0.60.0_linux_amd64
|
3.1.2 Docker安装方式
1.安装docker依赖
1
| sudo yum install -y yum-utils device-mapper-persistent-data lvm2
|
2.设置docker的yum源
1
| sudo yum-config-manager --add-repo https://download.docker.com/linux/centos/docker-ce.repo
|
3.安装docker
1
| sudo yum install docker-ce docker-ce-cli containerd.io -y
|
4.安装docker-compose
1
2
3
| sudo curl -L https://github.com/docker/compose/releases/download/1.25.5/docker-compose-`uname -s`-`uname -m` > /usr/local/bin/docker-compose
sudo chmod +x /usr/local/bin/docker-compose
|
5.启动docker
6.设置docker为开机启动
7.编写docker-compose.yml文件
1
2
3
4
5
6
7
8
9
| version: '3'
services:
frps:
image: snowdreamtech/frps:0.60
container_name: frps
restart: always
network_mode: host
volumes:
- ./frps.toml:/etc/frp/frps.toml
|
3.2.配置
编辑frps配置文件
写入内容
1
2
3
4
5
6
7
8
9
10
11
|
bindPort = 7000
auth.token = "xbfast"
vhostHTTPPort = 28080
webServer.addr = "0.0.0.0"
webServer.port = 7500
webServer.user = "admin"
webServer.password = "admin"
|
保存
3.3运行
3.3.1 普通方式运行
5.1 创建 frps.service 文件
使用文本编辑器 (如 vim) 在 /etc/systemd/system 目录下创建一个 frps.service 文件,用于配置 frps 服务。
1
| $ sudo vim /etc/systemd/system/frps.service
|
5.2 写入内容
1
2
3
4
5
6
7
8
9
10
11
12
13
| [Unit]
Description = frp server
After = network.target syslog.target
Wants = network.target
[Service]
Type = simple
ExecStart = /usr/local/frp/frp_0.60.0_linux_amd64/frps -c /usr/local/frp/frp_0.60.0_linux_amd64/frps.toml
[Install]
WantedBy = multi-user.target
|
5.3 使用 systemd 命令管理 frps 服务
1
2
3
4
5
6
7
8
|
sudo systemctl start frps
sudo systemctl stop frps
sudo systemctl restart frps
sudo systemctl status frps
|
5.4 设置 frps 开机自启动
1
| sudo systemctl enable frps
|
3.3.2 docker方式运行
1
2
3
4
5
6
|
docker-compose up -d
docker-compose down
docker-compose restart
|
4.客户端
4.1下载
地址:https://github.com/fatedier/frp/releases
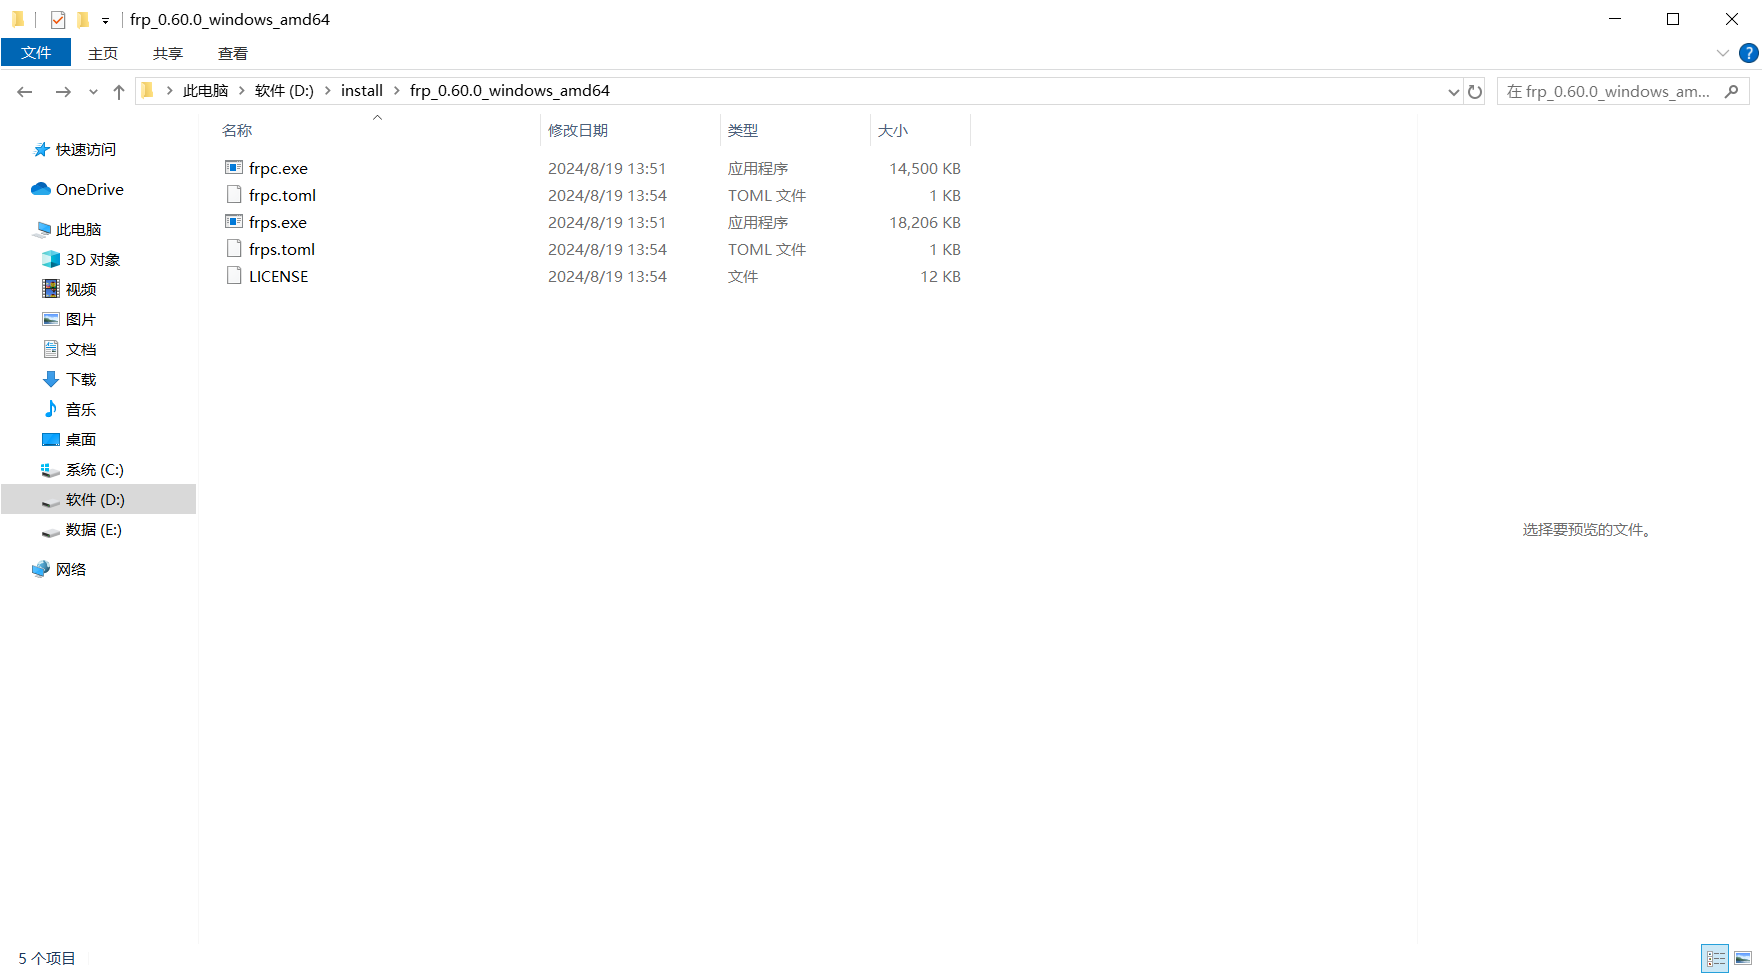
4.2解压

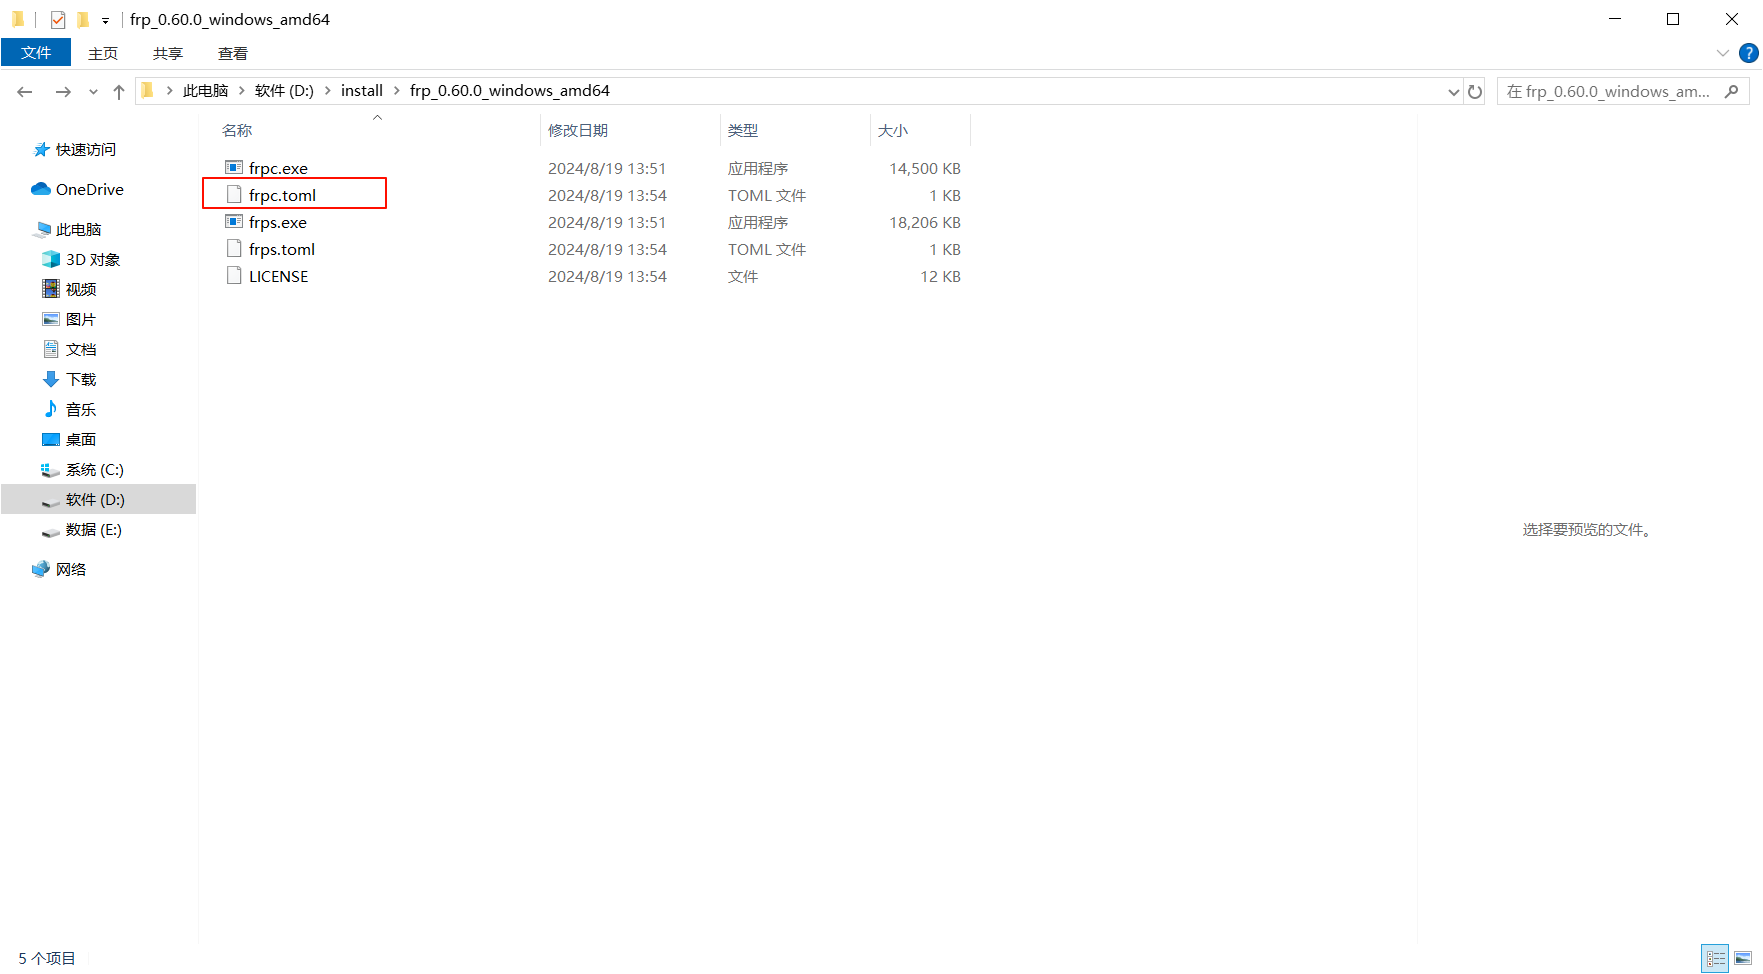
4.3配置
编辑frps配置文件frpc.toml

写入内容
1
2
3
| serverAddr = "47.239.206.168"
serverPort = 7000
auth.token = "xbfast"
|
HTTP配置
1
2
3
4
5
6
| [[proxies]]
name = "blog"
type = "http"
localIP = "127.0.0.1"
localPort = 8080
customDomains = ["blog.ka001.top"]
|
TCP配置
1
2
3
4
5
6
| [[proxies]]
name = "rdp"
type = "tcp"
localIP = "127.0.0.1"
localPort = 3389
remotePort = 23389
|
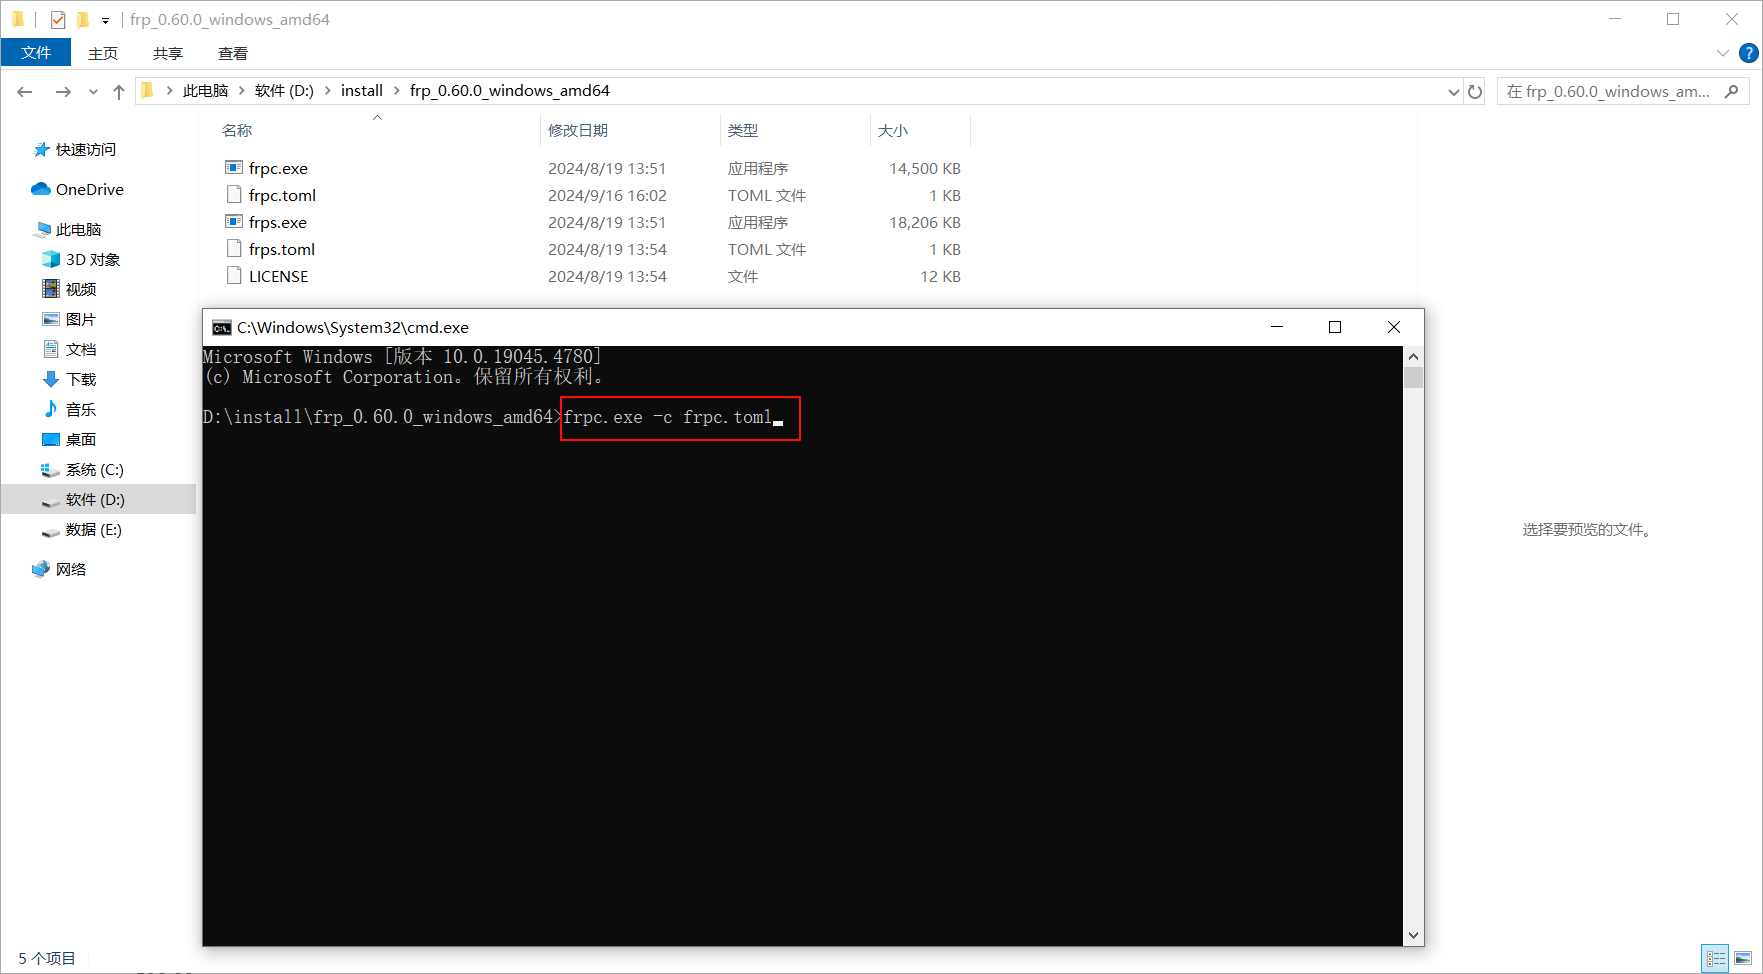
4.4运行

5.访问
浏览器输入:http://tomcat.ka001.top:28080/

二、进阶篇
1.配置通用域名
1.域名解析

2.服务端配置
1
| subdomainHost = "frp.ka001.top"
|
3.客户端配置
1
2
3
4
5
6
| [[proxies]]
name = "video"
type = "http"
localIP = "127.0.0.1"
localPort = 9090
subdomain = "video"
|
4.nginx配置项
1
2
3
4
5
6
7
8
9
10
11
12
13
14
15
16
17
18
19
20
21
22
23
24
25
26
27
28
29
30
31
| server {
listen 80;
server_name *.frp.ka001.top;
location / {
log_not_found off;
access_log off;
proxy_pass http://127.0.0.1:28080;
proxy_http_version 1.1;
proxy_connect_timeout 159s;
proxy_send_timeout 600;
proxy_read_timeout 600;
proxy_buffer_size 64k;
proxy_buffers 16 32k;
proxy_busy_buffers_size 64k;
proxy_temp_file_write_size 64k;
proxy_pass_header Set-Cookie;
proxy_redirect off;
proxy_hide_header Vary;
proxy_set_header Accept-Encoding '';
add_header Cache-Control no-store;
proxy_set_header Upgrade $http_upgrade;
proxy_set_header Connection "upgrade";
proxy_set_header Host $host;
proxy_set_header X-Real-IP $remote_addr;
proxy_set_header X-Forwarded-For $proxy_add_x_forwarded_for;
proxy_set_header Cache-Control no-cache;
proxy_set_header Connection Keep-Alive;
}
}
|
2.stcp
被访问者
1
2
3
4
5
6
| [[proxies]]
name = "rdp"
type = "stcp"
secretKey = "76Ha889911"
localIP = "127.0.0.1"
localPort = 22
|
访问者
1
2
3
4
5
6
7
| [[visitors]]
name = "rdp_visitor"
type = "stcp"
serverName = "rdp"
secretKey = "76Ha889911"
bindAddr = "127.0.0.1"
bindPort = 6000
|
3.图形化客户端
下载地址:https://github.com/luckjiawei/frpc-desktop/releases
4.实现vpn功能
网络示意图:

家庭网络,frp客户端配置:
1
2
3
4
5
6
7
8
9
| [[proxies]]
name = "http_proxy"
type = "tcp"
remotePort = 7700
[proxies.plugin]
type = "http_proxy"
httpUser = "xbfast"
httpPassword = "xbfast"
|
酒店网络http代理工具
https://www.proxifier.com


